浙大的图像信息处理,一门奇妙的课程,老师上课吹水摸鱼,网上的资源也十分不集中。故在此开设专题作为图像信息处理作业的一个分享,请善用博客搜索功能。
Assignment-2作业要求
- Image binarization
- Binary image erosion
- Binary image dilation
- Binary image opening
- Binary image closing
作业分析
图像二值化
读取一张.bmp图像将其转换位二值图像,首先我们需要在C语言中定义图像信息结构体
1
2
3
4
5
6
7
8
9
10
11
12
13
14
15
16
17
18
19
20
21
22
23
24
25
26
27
28
| typedef struct tagBITMAPFILEHEADER {
unsigned short bfType;
unsigned int bfSize;
unsigned short bfReserved1;
unsigned short bfReserved2;
unsigned int bfOffBits;
} BITMAPHEADER;
typedef struct tagBITMAPINFOHEADER {
unsigned int biSize;
long biWidth;
long biHeight;
unsigned short biPlanes;
unsigned short biBitCount;
unsigned int biCompression;
unsigned int biSizeImage;
long biXPelsPerMeter;
long biYPelsPerMeter;
unsigned int biClrUsed;
unsigned int biClrImportant;
} BITMAPINFOHEADER;
typedef struct tagRGBQUAD {
unsigned char rgbBlue;
unsigned char rgbGreen;
unsigned char rgbRed;
unsigned char rgbReserved;
} RGBQUAD;
|
然后进行图像头结构的读取与判断
1
2
3
4
5
6
7
8
9
10
| FILE* bmpfile = fopen(argv[1], "rb");
BITMAPHEADER* header = new BITMAPHEADER;
BITMAPINFOHEADER* info = new BITMAPINFOHEADER;
if (!bmpfile) return -1;
fread(header, 14, 1, bmpfile);
if (header->bfType != 0x4D42) {
std::cout << "Not a bitmap file" << std::endl;
return 1;
}
fread(info, sizeof(BITMAPINFOHEADER), 1, bmpfile);
|
赋值计算单行像素数量lineBytes并读取像素信息,注意由于.bmp文件单行像素一定是4的整倍数,因此需要补齐
1
2
3
4
5
6
7
8
| int imSize = info->biSize;
int width = info->biWidth;
int height = info->biHeight;
int bitCount = info->biBitCount;
int lineBytes = (bitCount * width / 8 + 3) / 4 * 4;
unsigned char* imgData = new unsigned char[lineBytes * height];
fread(imgData, lineBytes * height, 1, bmpfile);
fclose(bmpfile);
|
在读取图像之后计算其灰度值,此时我们用$YUV$格式转换中的$Y$值表示灰度,转换公式如下
由于$RGB$格式的大小是灰度图像的三倍,因此在创建灰度数据时要除以三再赋值
1
2
3
4
5
6
7
8
9
10
11
| unsigned char* biData = new unsigned char[lineBytes * height / 3];
for(int i = 0; i < height; i++){
for(int j = 0; j < width * 3; j++){
unsigned char r = *(imgData + lineBytes * (height - 1 - i) + j);
j++;
unsigned char g = *(imgData + lineBytes * (height - 1 - i) + j);
j++;
unsigned char b = *(imgData + lineBytes * (height - 1 - i) + j);
*(biData + lineBytes * (height - 1 - i) / 3 + j / 3) = 0.299 * r + 0.587 * g + 0.114 * b;
}
}
|
然后是二值化图像阈值的确定,根据课上内容我们可以知道,我们需要确定前景和背景然后让其组内方差最小且组间方差最大,这就是所谓大津算法,链接中有通过直方图的C语言实现,可以作为补充阅读,我们这里使用与OpenCV相类似的方法
1
2
3
4
5
6
7
8
9
10
11
12
13
14
15
16
17
18
19
20
21
22
23
24
25
26
27
28
29
30
31
32
33
34
35
36
37
38
39
40
| unsigned char otsuThreshold(unsigned char* biData, int width, int height, int lineBytes) {
const int GrayScale = 256;
int pixelCount[GrayScale] = {0};
double pixelPro[GrayScale] = {0.0};
unsigned char threshold = 0;
for (int i = 0; i < height; i++) {
for (int j = 0; j < width; j++) {
++pixelCount[(int)*(biData + lineBytes * i + j)];
}
}
for (int i = 0; i < GrayScale; i++) {
pixelPro[i] = (double)pixelCount[i] / (width * height);
}
double w0, w1, u0tmp, u1tmp, u0, u1, u, deltaTmp, deltaMax = 0;
for (int i = 0; i < GrayScale; i++) {
w0 = w1 = u0tmp = u1tmp = u0 = u1 = u = deltaTmp = 0;
for (int j = 0; j < GrayScale; j++) {
if (j <= i) {
w0 += pixelPro[j];
u0tmp += j * pixelPro[j];
}
else {
w1 += pixelPro[j];
u1tmp += j * pixelPro[j];
}
}
u0 = u0tmp / w0;
u1 = u1tmp / w1;
u = u0tmp + u1tmp;
deltaTmp = w0 * pow((u0 - u), 2) + w1 * pow((u1 - u), 2);
if (deltaTmp > deltaMax) {
deltaMax = deltaTmp;
threshold = i;
}
}
return threshold;
}
|
确定了阈值后就可以进行二值化了
1
2
3
4
5
6
7
8
9
| unsigned char threshold = otsuThreshold(biData, width, height, lineBytes / 3);
for(int i = 0; i < height; i++){
for(int j = 0; j < width; j++){
if (*(biData + lineBytes * (height - 1 - i) / 3 + j) >= threshold)
*(biData + lineBytes * (height - 1 - i) / 3 + j) = 255;
else
*(biData + lineBytes * (height - 1 - i) / 3 + j) = 0;
}
}
|
处理完数据后就可以写入二值文件了,首先是定义头文件和颜色表,然后写入数据即可
1
2
3
4
5
6
7
8
9
10
11
12
13
14
15
16
17
18
19
20
21
22
23
24
25
26
27
28
29
30
31
32
33
34
35
36
37
38
39
40
| FILE* biBMP = fopen("bi.bmp", "wb");
int lineBytesBi = (width * 8 / 8 + 3) / 4 * 4;
if (!biBMP) return -1;
BITMAPHEADER* biHeader = new BITMAPHEADER;
biHeader->bfType = 0x4D42;
biHeader->bfSize = 14 + 40 + sizeof(RGBQUAD) * 256 + lineBytesBi * height;
biHeader->bfReserved1 = 0;
biHeader->bfReserved2 = 0;
biHeader->bfOffBits = 14 + 40 + sizeof(RGBQUAD) * 256;
fwrite(&biHeader->bfType, 2, 1, biBMP);
fwrite(&biHeader->bfSize, 4, 1, biBMP);
fwrite(&biHeader->bfReserved1, 2, 1, biBMP);
fwrite(&biHeader->bfReserved2, 2, 1, biBMP);
fwrite(&biHeader->bfOffBits, 4, 1, biBMP);
BITMAPINFOHEADER* biInfoHeader = new BITMAPINFOHEADER;
biInfoHeader->biBitCount = 8;
biInfoHeader->biClrImportant = 0;
biInfoHeader->biClrUsed = 0;
biInfoHeader->biCompression = 0;
biInfoHeader->biHeight = height;
biInfoHeader->biWidth = width;
biInfoHeader->biPlanes = 1;
biInfoHeader->biSize = 40;
biInfoHeader->biSizeImage = lineBytesBi * height;
biInfoHeader->biXPelsPerMeter = 0;
biInfoHeader->biYPelsPerMeter = 0;
fwrite(biInfoHeader, 40, 1, biBMP);
RGBQUAD* pColorTable = new RGBQUAD[256];
for (int i = 0; i < 256; i++) {
pColorTable[i].rgbRed = i;
pColorTable[i].rgbGreen = i;
pColorTable[i].rgbBlue = i;
pColorTable[i].rgbReserved = 0;
}
fwrite(pColorTable, sizeof(RGBQUAD), 256, biBMP);
fwrite(biData, lineBytesBi * height, 1, biBMP);
fclose(biBMP);
|
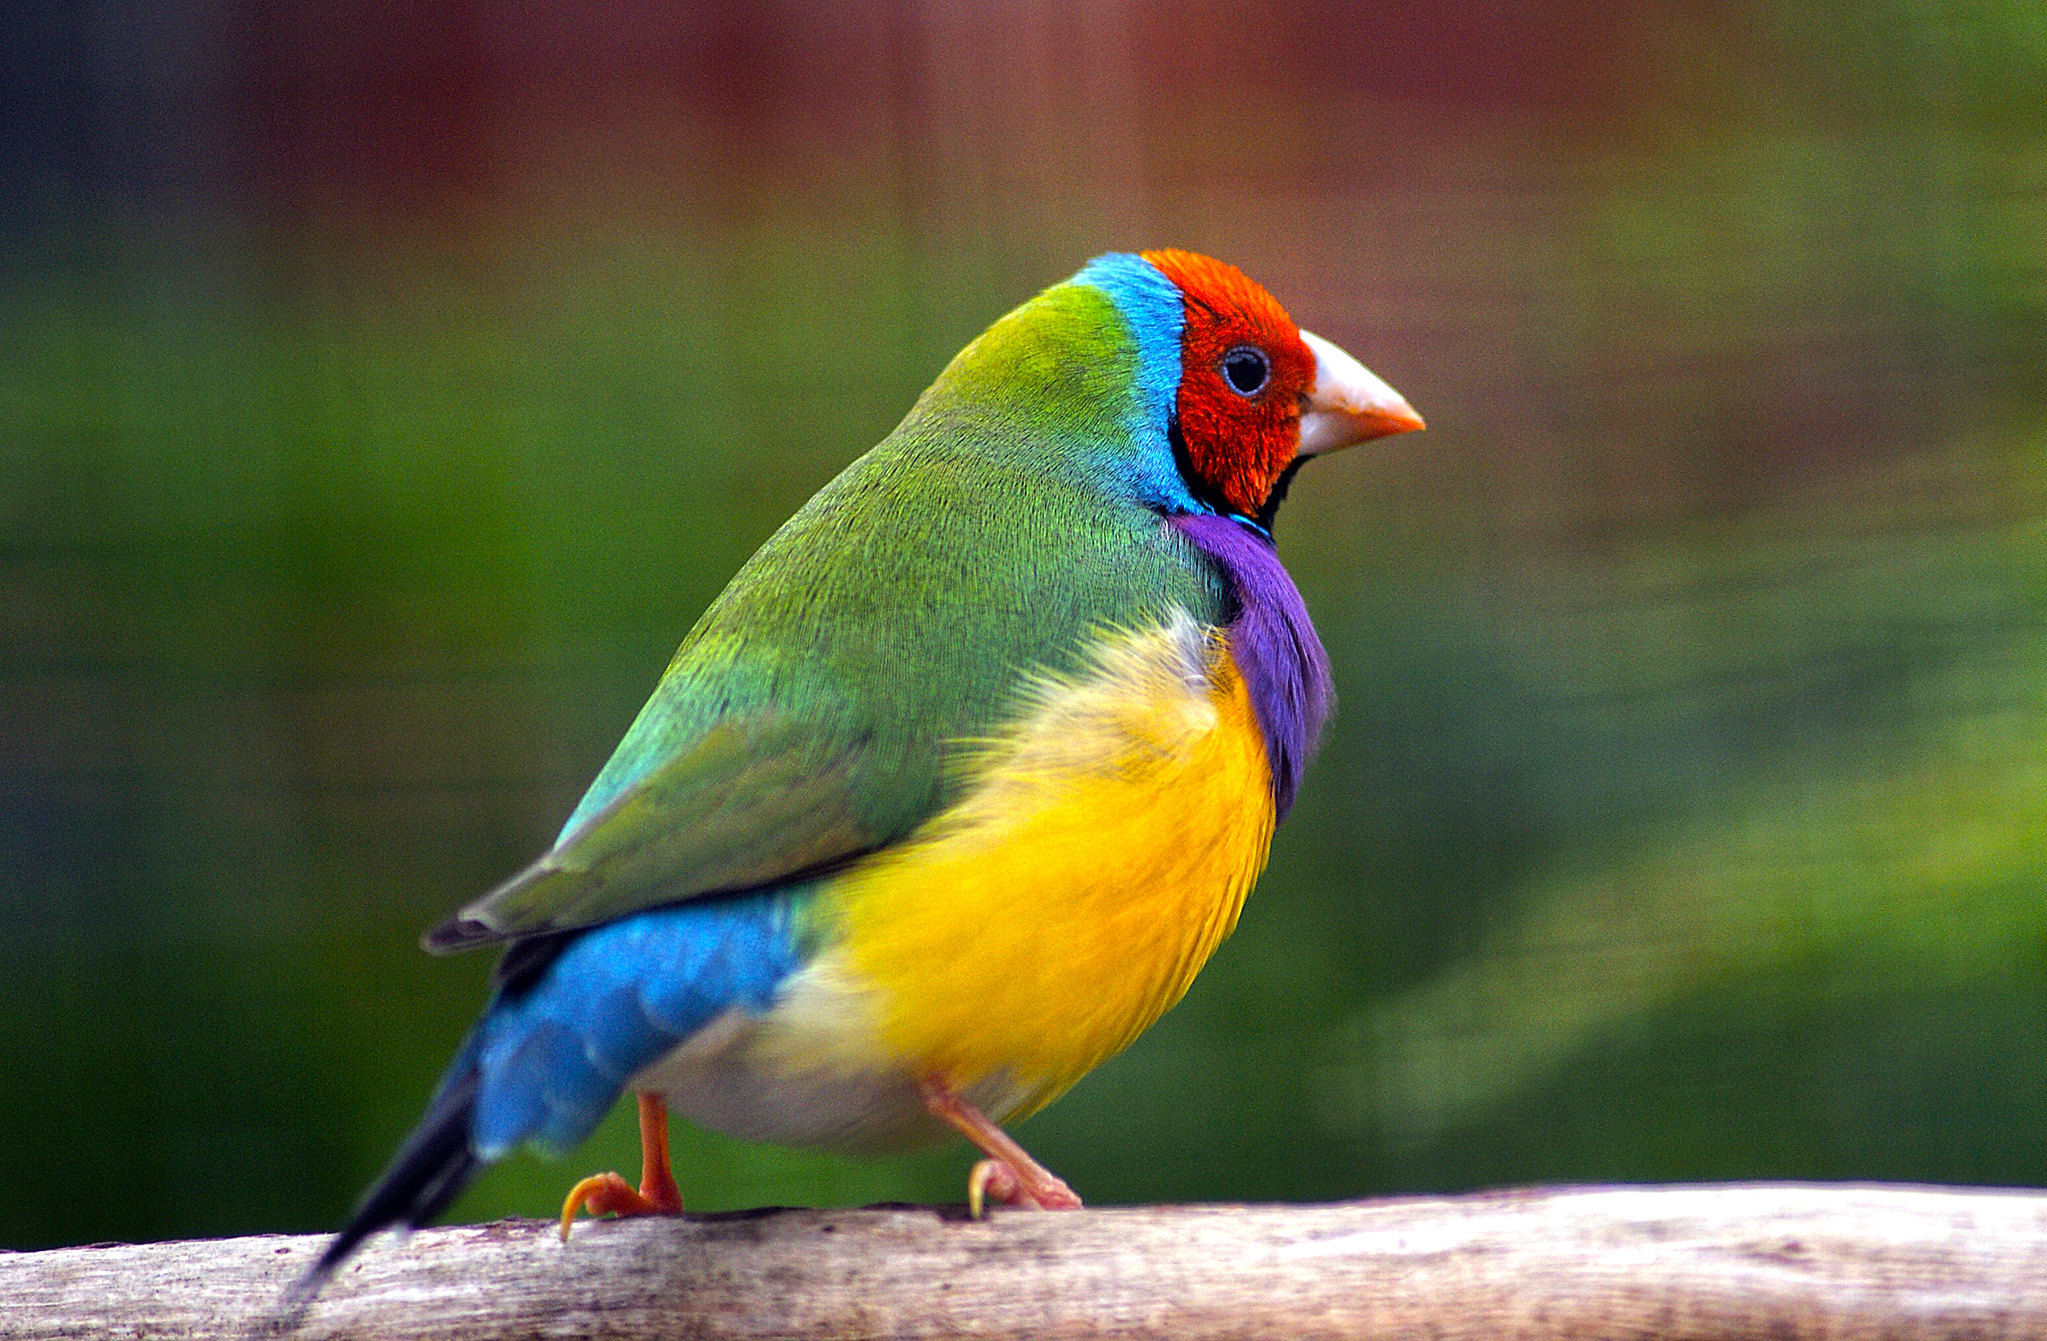
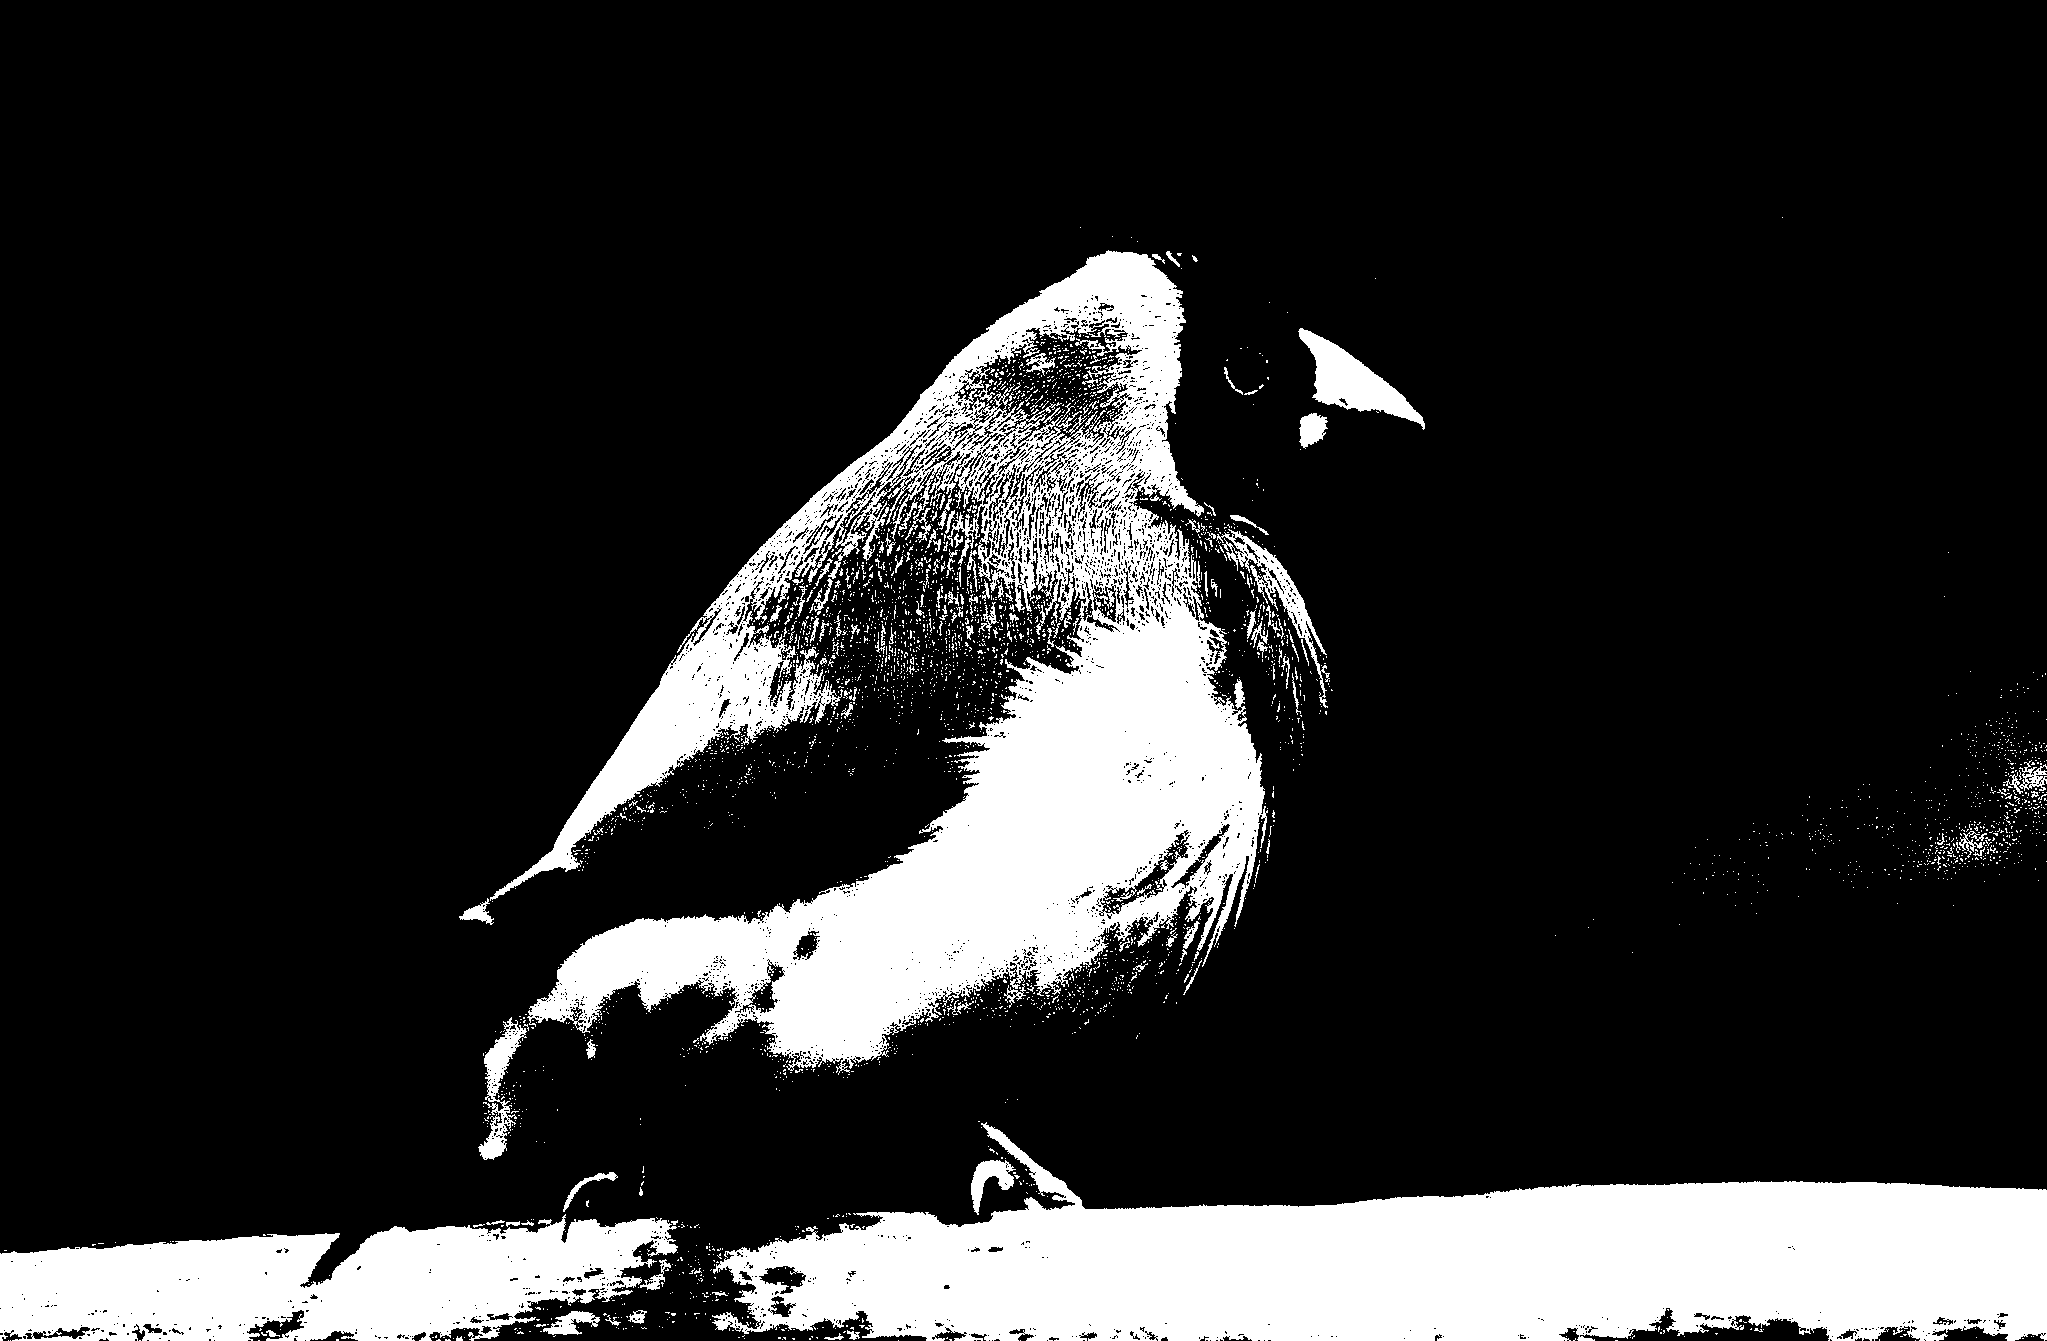
最终效果
二值化图像腐蚀
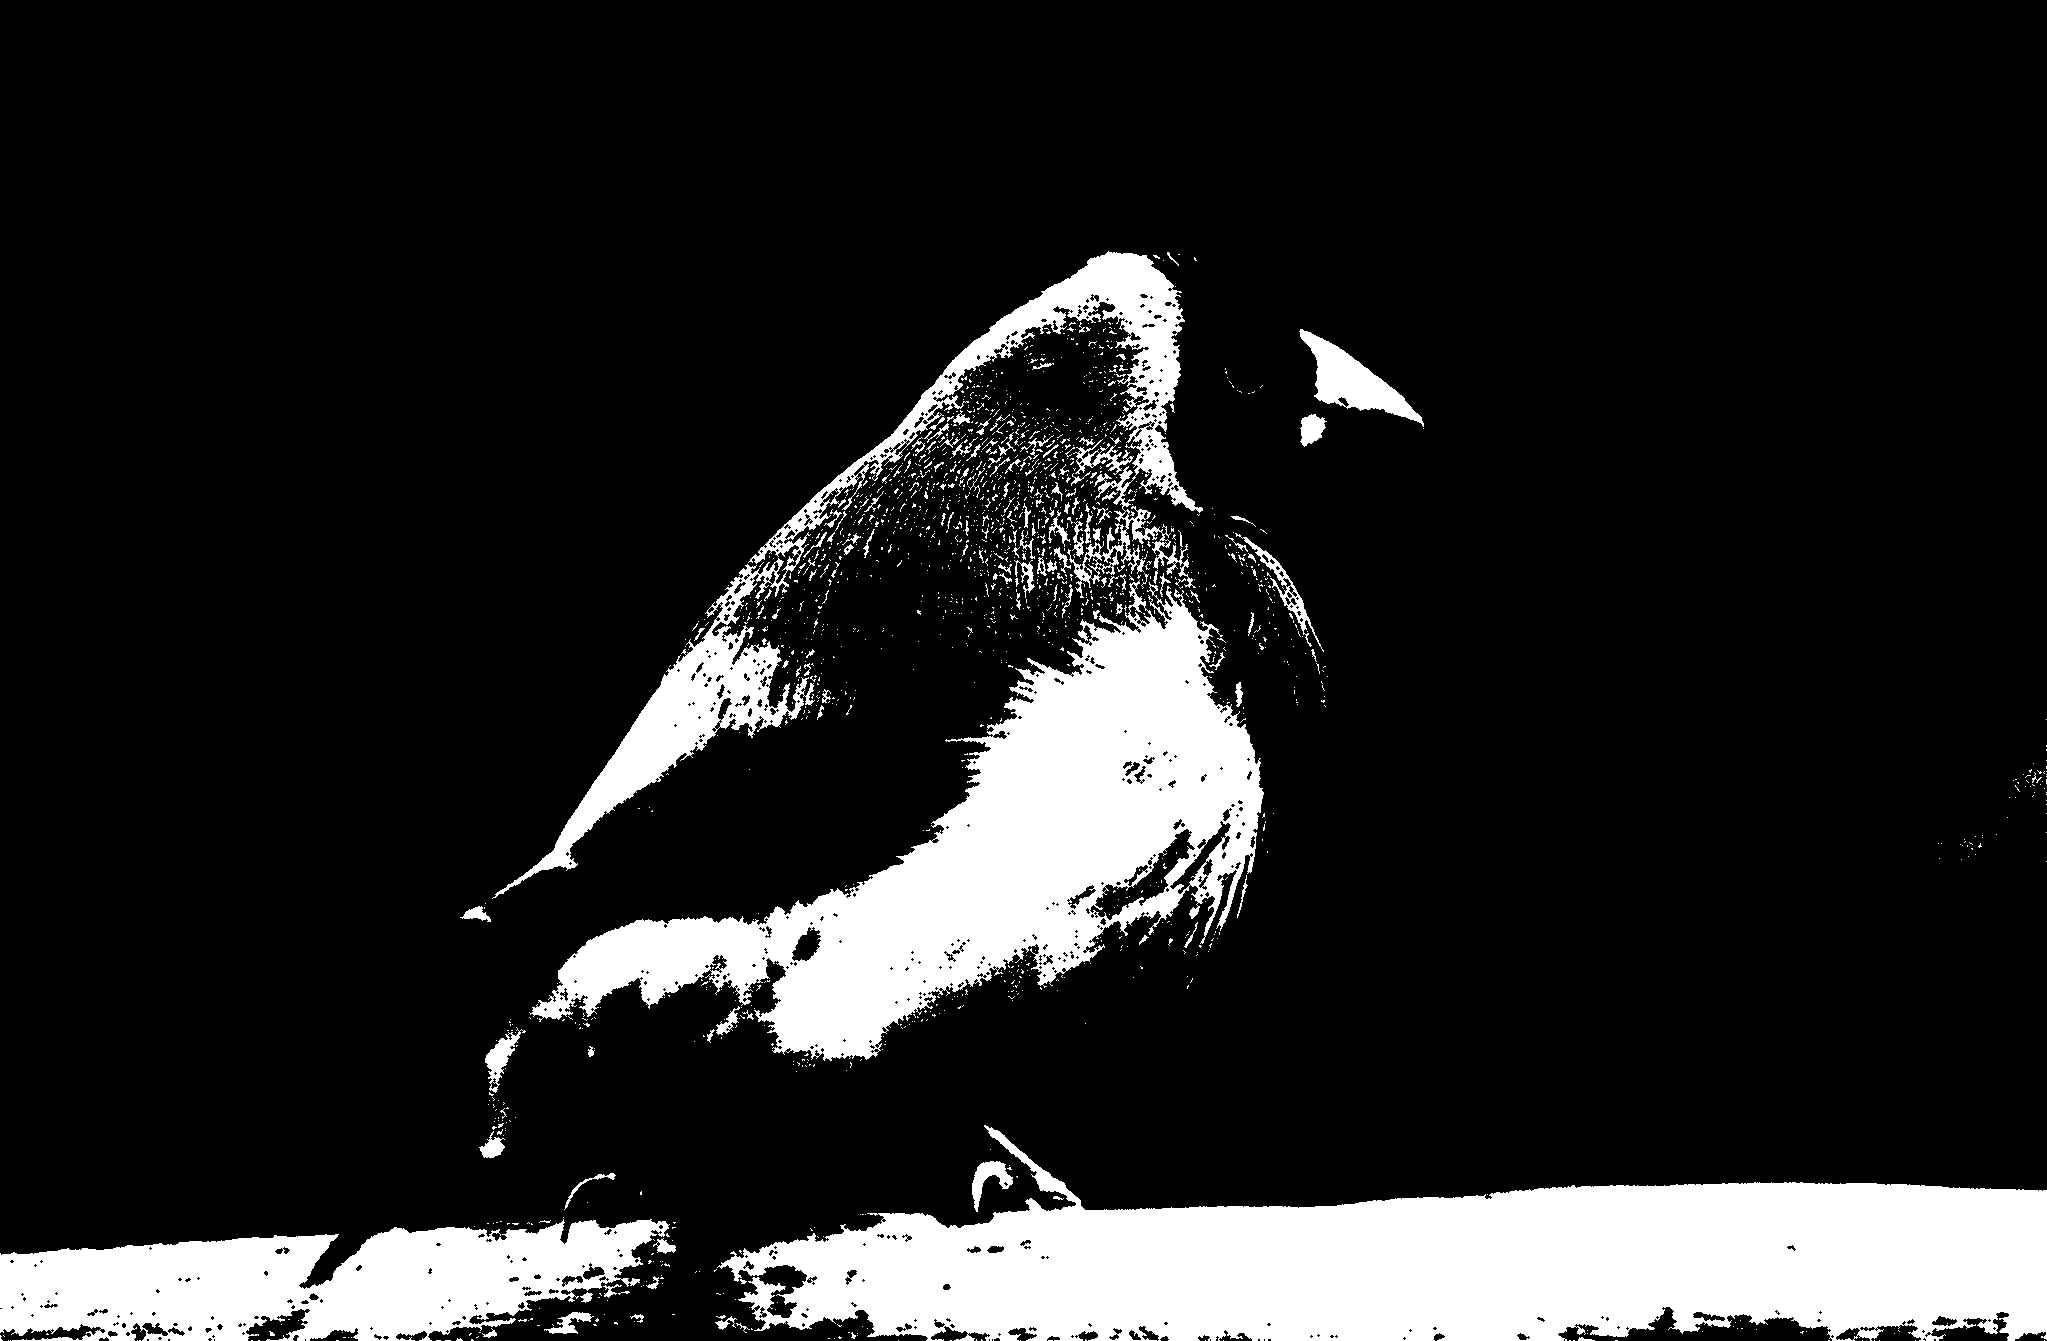
图像腐蚀,常用于使目标缩小,去除图像边界或者去除不想要的小物体(例如减噪等操作),计算方法为
其中$A$是二值化图像,$B$是腐蚀领域
具体操作就是用一个结构元素$B$(一般是3×3的大小)扫描图像$A$中的每一个像素,用结构元素中的每一个像素与其覆盖的像素做“与”操作,如果都为1,则该像素为1,否则为0
我们采用遍历与运算进行实现,此时
1
2
3
4
5
6
7
8
9
10
11
12
13
14
15
16
17
18
19
20
| unsigned char* imgErosion(const unsigned char* biData, int width, int height, int lineBytes) {
unsigned char* tempData = new unsigned char[lineBytes * height];
unsigned char* eroData = new unsigned char[lineBytes * height];
memcpy(tempData, biData, lineBytes * height * sizeof(unsigned char));
memcpy(eroData, biData, lineBytes * height * sizeof(unsigned char));
for (int i = 1; i < height - 1; i++) {
for (int j = 1; j < width - 1; j++) {
if (*(tempData + i * lineBytes + j) == 0 || *(tempData + (i-1) * lineBytes + j) == 0 ||
*(tempData + (i+1) * lineBytes + j) == 0 || *(tempData + i * lineBytes + j+1) == 0 ||
*(tempData + i * lineBytes + j-1) == 0) {
*(eroData + i * lineBytes + j) = 0;
}
else {
*(eroData + i * lineBytes + j) = 255;
}
}
}
delete(tempData);
return eroData;
}
|
效果如下
二值化图像膨胀
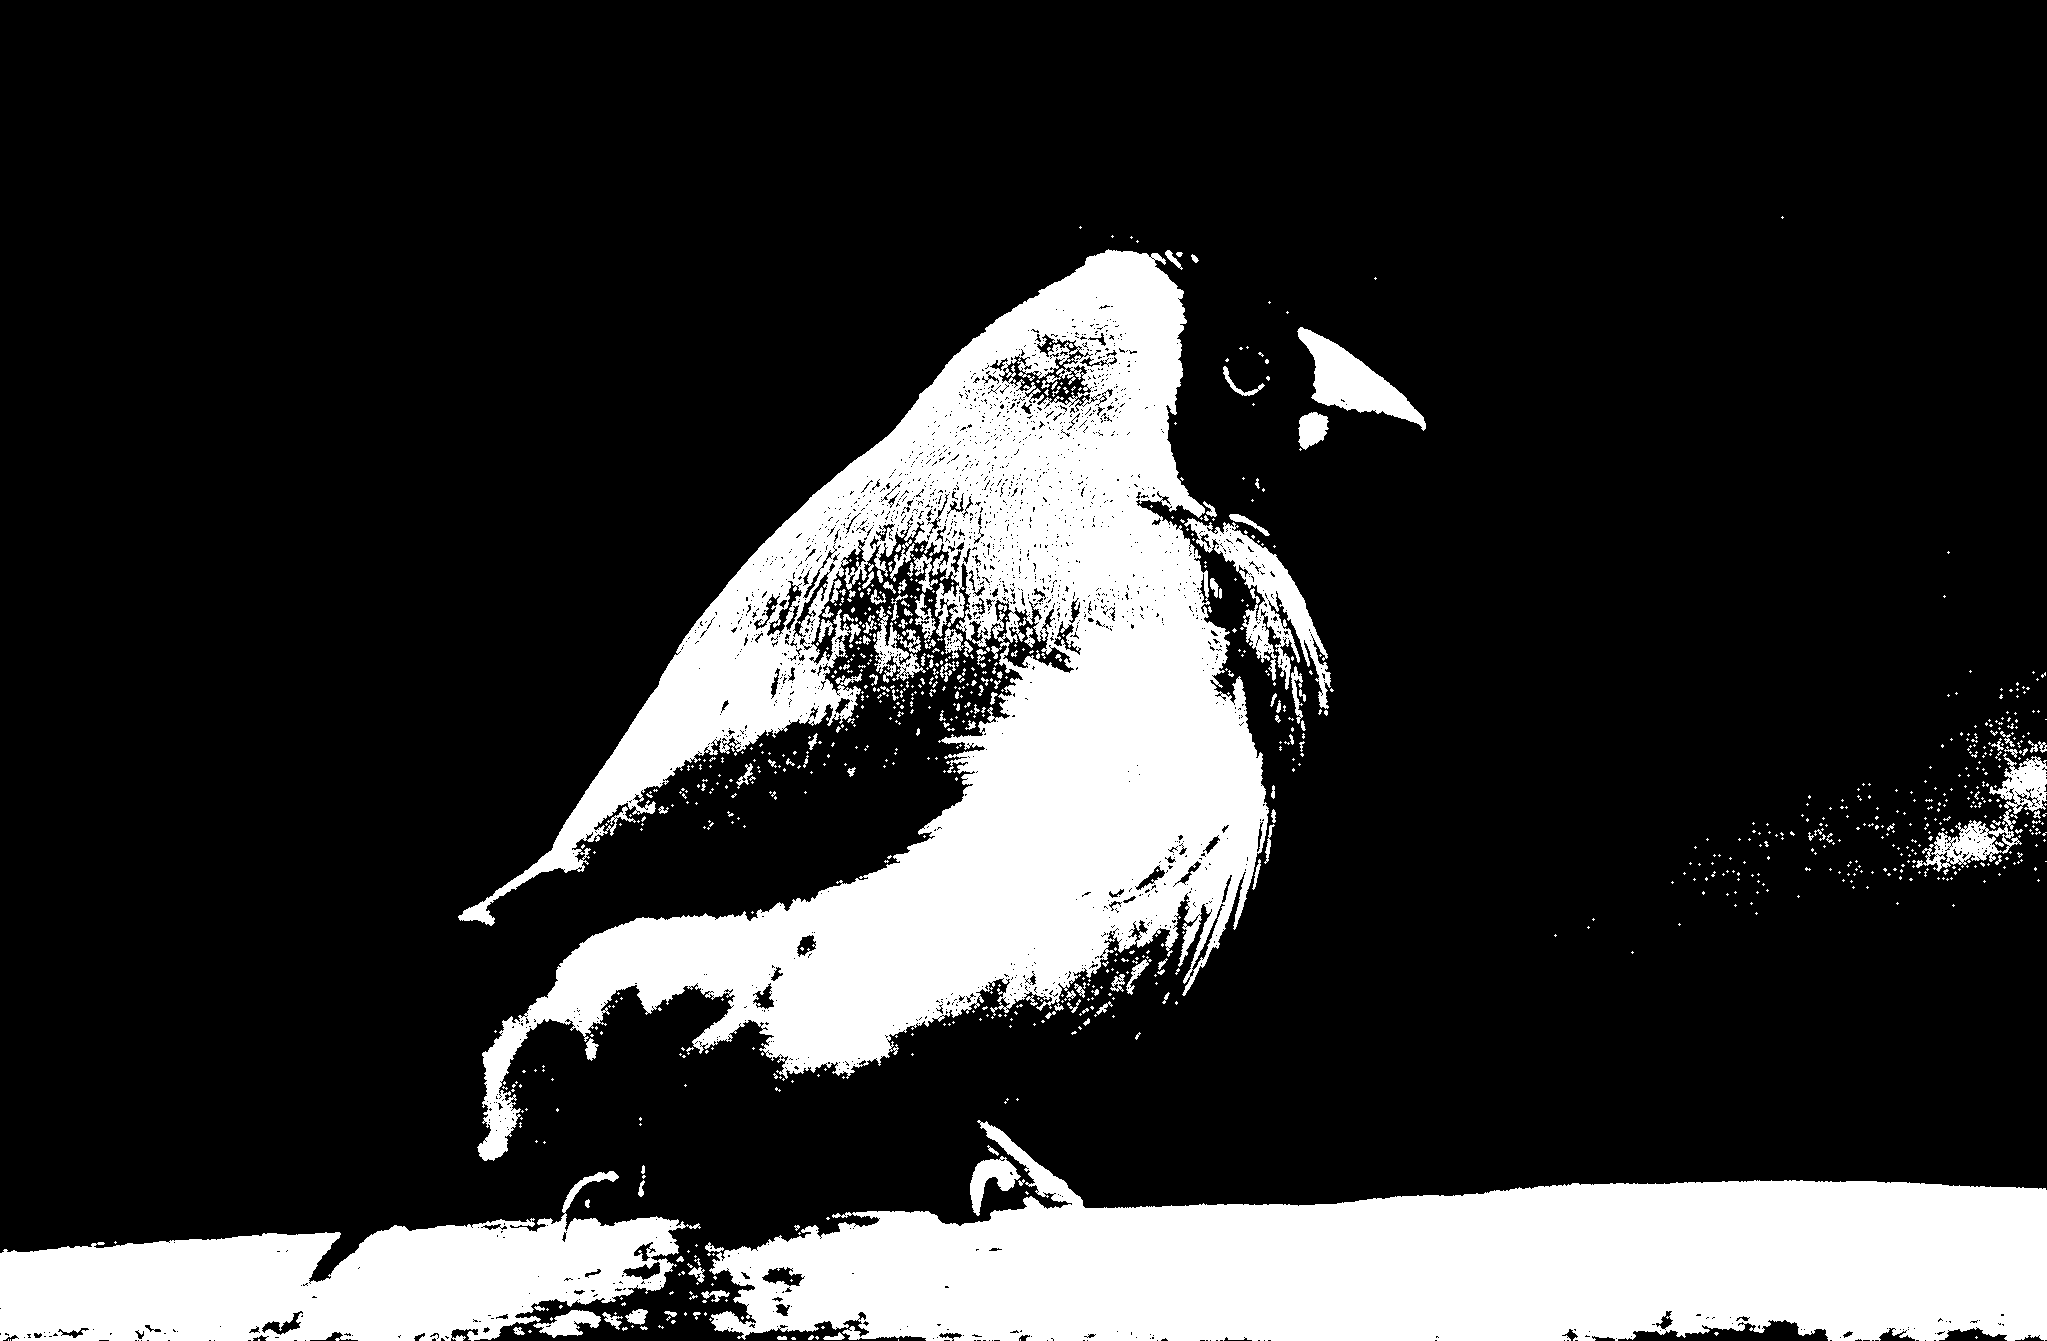
图像膨胀,常用于使目标增大,增粗字体,填补空洞,计算方法为
其中$A$是二值化图像,$B$是膨胀领域
具体操作就是用一个结构元素(一般是3×3的大小)扫描图像中的每一个像素,用结构元素中的每一个像素与其覆盖的像素做“与”操作,如果都为0,则该像素为0,否则为1
由此可见膨胀和腐蚀其实是对称的运算,因此我们可以将两个运算合并在一起,此时
1
2
3
4
5
6
7
8
9
10
11
12
13
14
15
16
17
18
19
20
21
| unsigned char* imgEroDila(const unsigned char* biData, int width, int height, int lineBytes, int flag) {
unsigned char* tempData = new unsigned char[lineBytes * height];
unsigned char* rtnData = new unsigned char[lineBytes * height];
int p = (flag == 1) ? 255 : 0;
memcpy(tempData, biData, lineBytes * height * sizeof(unsigned char));
memcpy(rtnData, biData, lineBytes * height * sizeof(unsigned char));
for (int i = 1; i < height - 1; i++) {
for (int j = 1; j < width - 1; j++) {
if (*(tempData + i * lineBytes + j) == p || *(tempData + (i-1) * lineBytes + j) == p ||
*(tempData + (i+1) * lineBytes + j) == p || *(tempData + i * lineBytes + j+1) == p ||
*(tempData + i * lineBytes + j-1) == p) {
*(rtnData + i * lineBytes + j) = p;
}
else {
*(rtnData + i * lineBytes + j) = 255 - p;
}
}
}
delete(tempData);
return rtnData;
}
|
效果如下
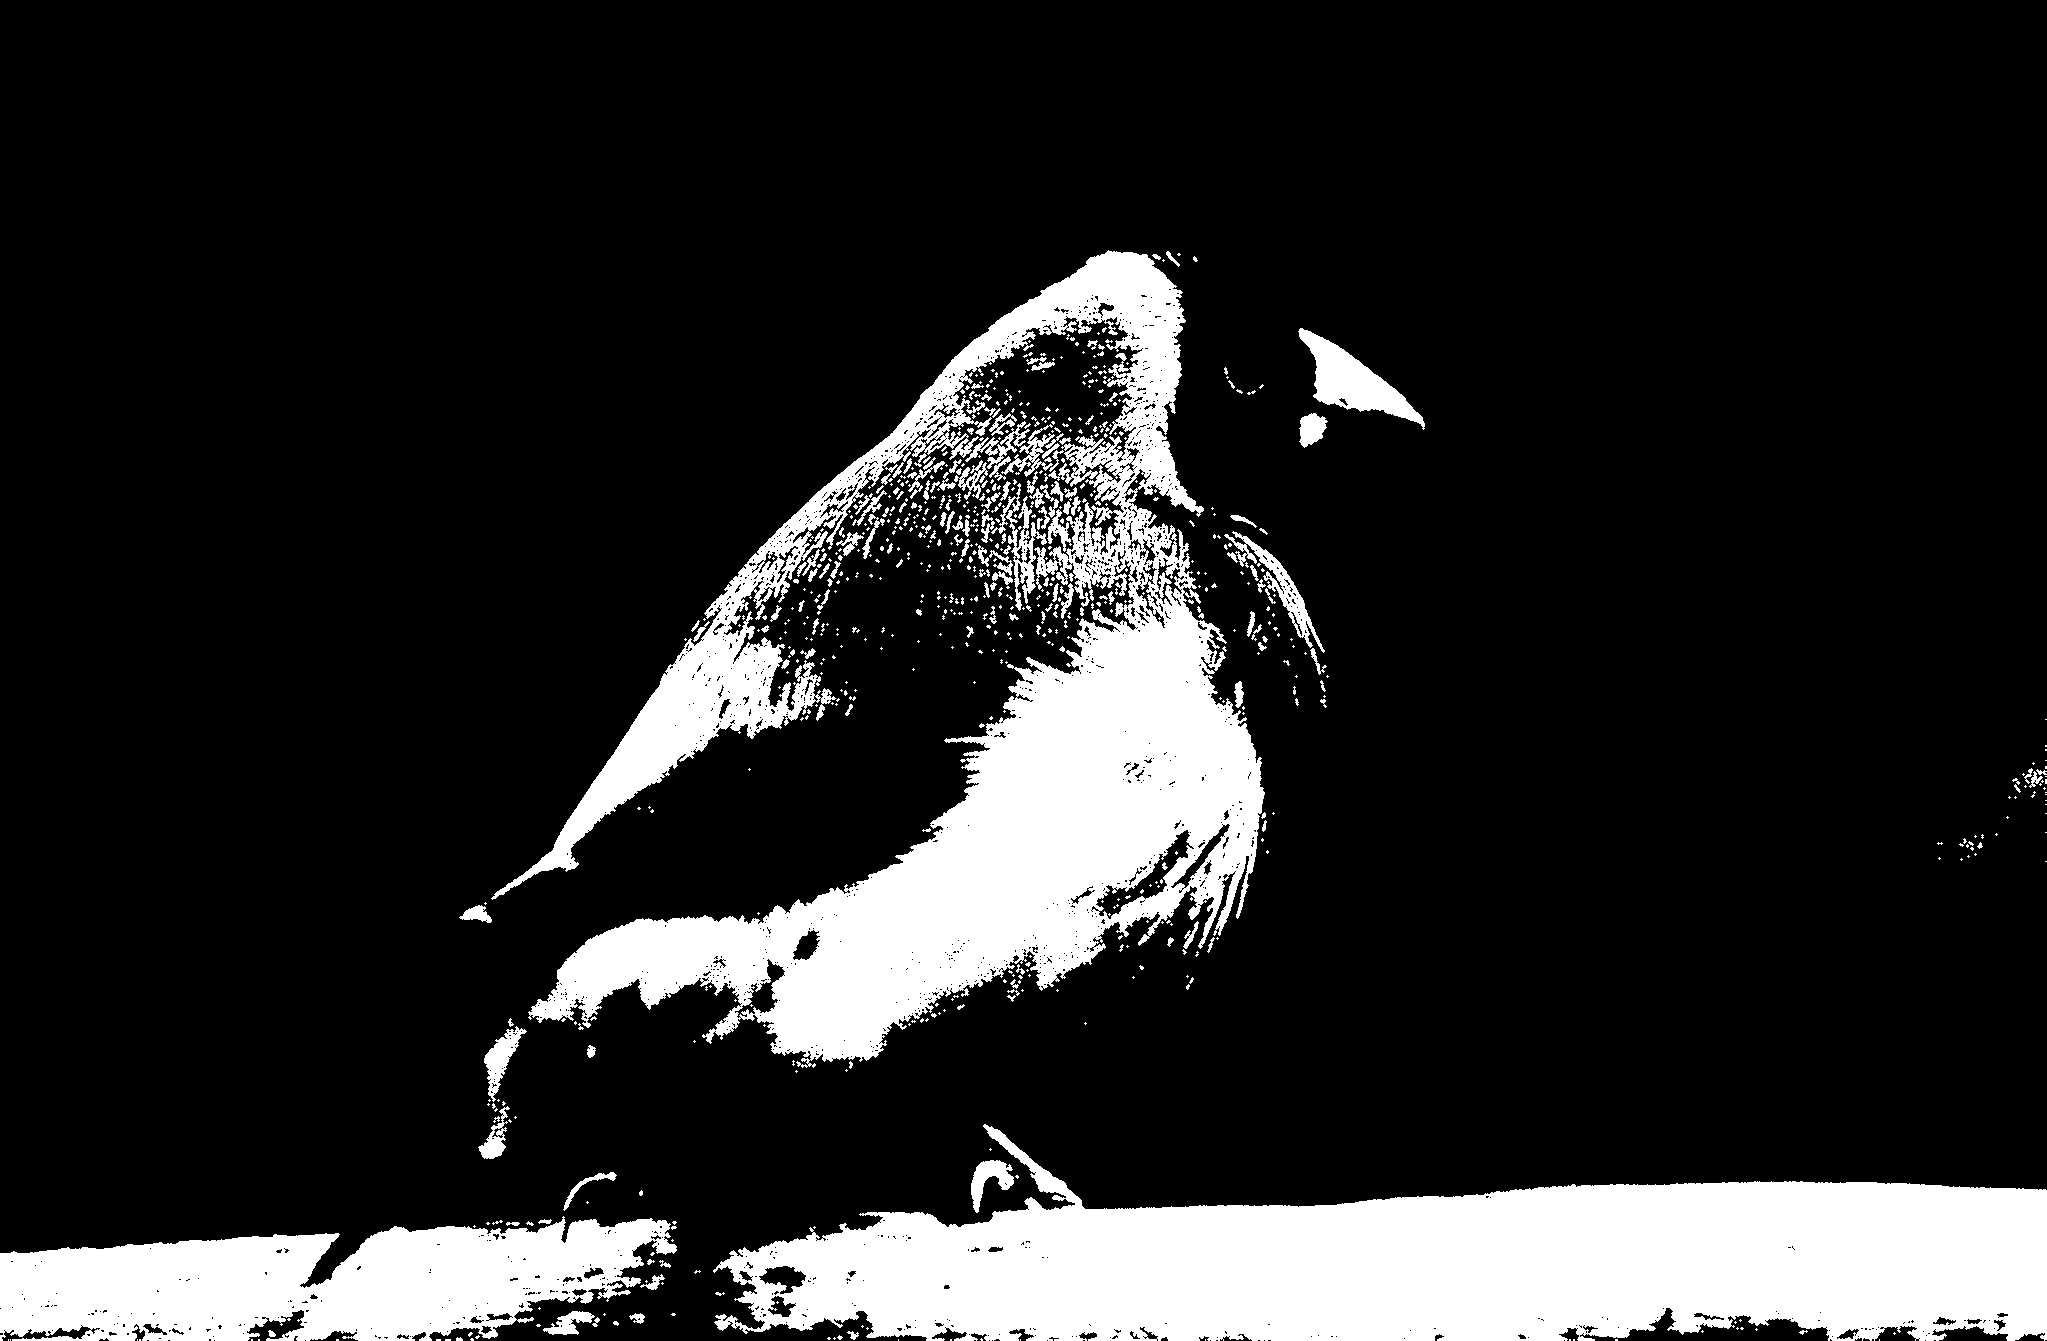
二值化图像开运算
开运算是先腐蚀后膨胀的过程,它可以消除图像上的细小噪声并平滑边界
有了上述的铺垫,我们可以很快的完成开运算
1
2
3
4
5
6
7
8
9
10
11
12
| FILE* openBMP = fopen("open.bmp", "wb");
fwrite(&biHeader->bfType, 2, 1, openBMP);
fwrite(&biHeader->bfSize, 4, 1, openBMP);
fwrite(&biHeader->bfReserved1, 2, 1, openBMP);
fwrite(&biHeader->bfReserved2, 2, 1, openBMP);
fwrite(&biHeader->bfOffBits, 4, 1, openBMP);
fwrite(biInfoHeader, 40, 1, openBMP);
fwrite(pColorTable, sizeof(RGBQUAD), 256, openBMP);
unsigned char* openData = imgEroDila(biData, width, height, lineBytesBi, 0);
openData = imgEroDila(openData, width, height, lineBytesBi, 1);
fwrite(openData, lineBytesBi * height, 1, openBMP);
fclose(openBMP);
|
效果如下
二值化图像闭运算
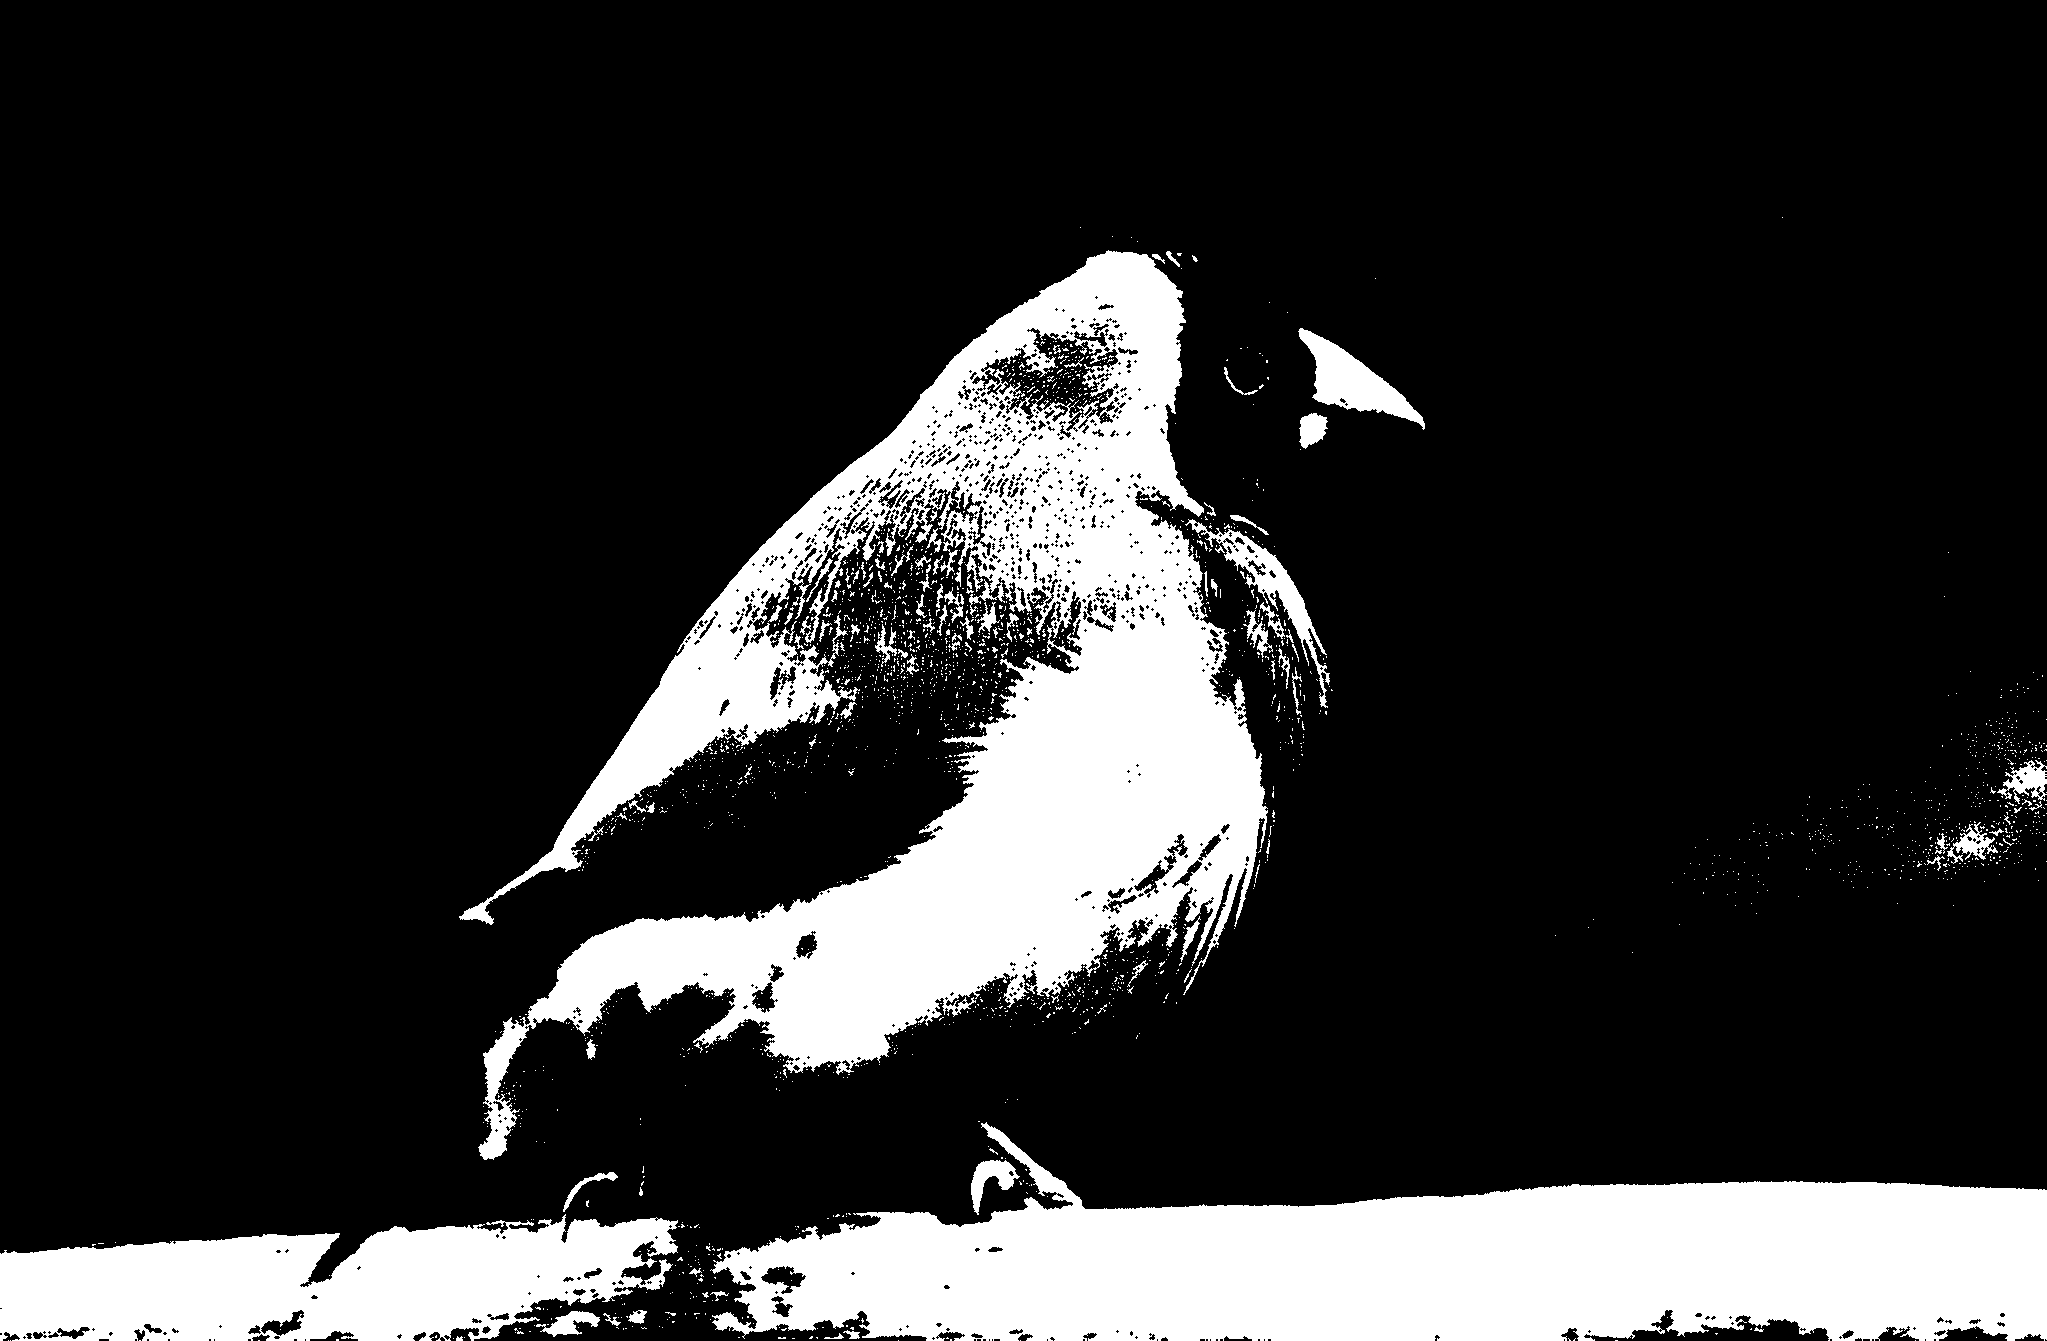
闭运算是先膨胀后腐蚀,它可以填充细小空洞并平滑边界
代码如下
1
2
3
4
5
6
7
8
9
10
11
12
| FILE* closeBMP = fopen("close.bmp", "wb");
fwrite(&biHeader->bfType, 2, 1, closeBMP);
fwrite(&biHeader->bfSize, 4, 1, closeBMP);
fwrite(&biHeader->bfReserved1, 2, 1, closeBMP);
fwrite(&biHeader->bfReserved2, 2, 1, closeBMP);
fwrite(&biHeader->bfOffBits, 4, 1, closeBMP);
fwrite(biInfoHeader, 40, 1, closeBMP);
fwrite(pColorTable, sizeof(RGBQUAD), 256, closeBMP);
unsigned char* closeData = imgEroDila(biData, width, height, lineBytesBi, 1);
closeData = imgEroDila(closeData, width, height, lineBytesBi, 0);
fwrite(closeData, lineBytesBi * height, 1, closeBMP);
fclose(closeBMP);
|
效果如下
后记
这是图像信息处理的第二次作业,总的来说还是比较简单方便的,按照ppt上的说法一步一步来就能得出结果
希望这篇博文能够帮到你完成这次作业


